Using TelemetryDeck with RevenueCat
RevenueCat helps you process payments and in-app purchases across iOS, Android, and the web.
With this integration, RevenueCat events appear in your TelemetryDeck dashboard alongside your app analytics — all on one screen.
Read the announcement
Our announcement blog post shows you what to expect, how to use the new revenue dashboard, and gives examples on what to do with your revenue data.
Installing RevenueCat and TelemetryDeck
Configuring the RevenueCat SDK
RevenueCat uses user attributes to correlate users across services. Set two attributes so RevenueCat users match their TelemetryDeck identities:
$telemetryDeckAppId: Your TelemetryDeck App ID$telemetryDeckUserId: The already-hashed user identifier that TelemetryDeck uses
RevenueCat needs the hashed identifier
TelemetryDeck hashes user identifiers before transmission. You need to extract the hashed value and pass that to RevenueCat, otherwise the identifiers won't match.
If your SDK version doesn't expose the hashed identifier directly, compute it yourself: SHA256(user_id + salt).
iOS
// 1. Initialize TelemetryDeck
let telemetrydeckAppID = "AAAAAAAA-BBBB-CCCC-DDDD"
Task {
    try await TelemetryDeck.initialize(
        appID: telemetrydeckAppID,
        namespace: "YOUR-NAMESPACE",
        salt: "MY_SECRET_SALT"
    )

    // 2. Set a user identifier
    let myUserID = UIDevice.current
        .identifierForVendor?.uuidString
        ?? "unknown user"
    await TelemetryDeck.setUserIdentifier(myUserID)
}

// 3. Configure RevenueCat with the hashed TelemetryDeck user ID
Purchases.configure(withAPIKey: "my_revenuecat_api_key")

// Compute the hashed identifier to pass to RevenueCat
// This must match what TelemetryDeck sends to the server
import CryptoKit
let hashedUser = SHA256.hash(
    data: Data((myUserID + "MY_SECRET_SALT").utf8)
).map { String(format: "%02x", $0) }.joined()

Purchases.shared.attribution.setAttributes([
    "$telemetryDeckUserId": hashedUser,
    "$telemetryDeckAppId": telemetrydeckAppID
])
Keep identifiers in sync
Whenever you update your TelemetryDeck user identifier, also update RevenueCat's $telemetryDeckUserId attribute.
Setting up RevenueCat's TelemetryDeck integration
Tell RevenueCat to forward events to TelemetryDeck:
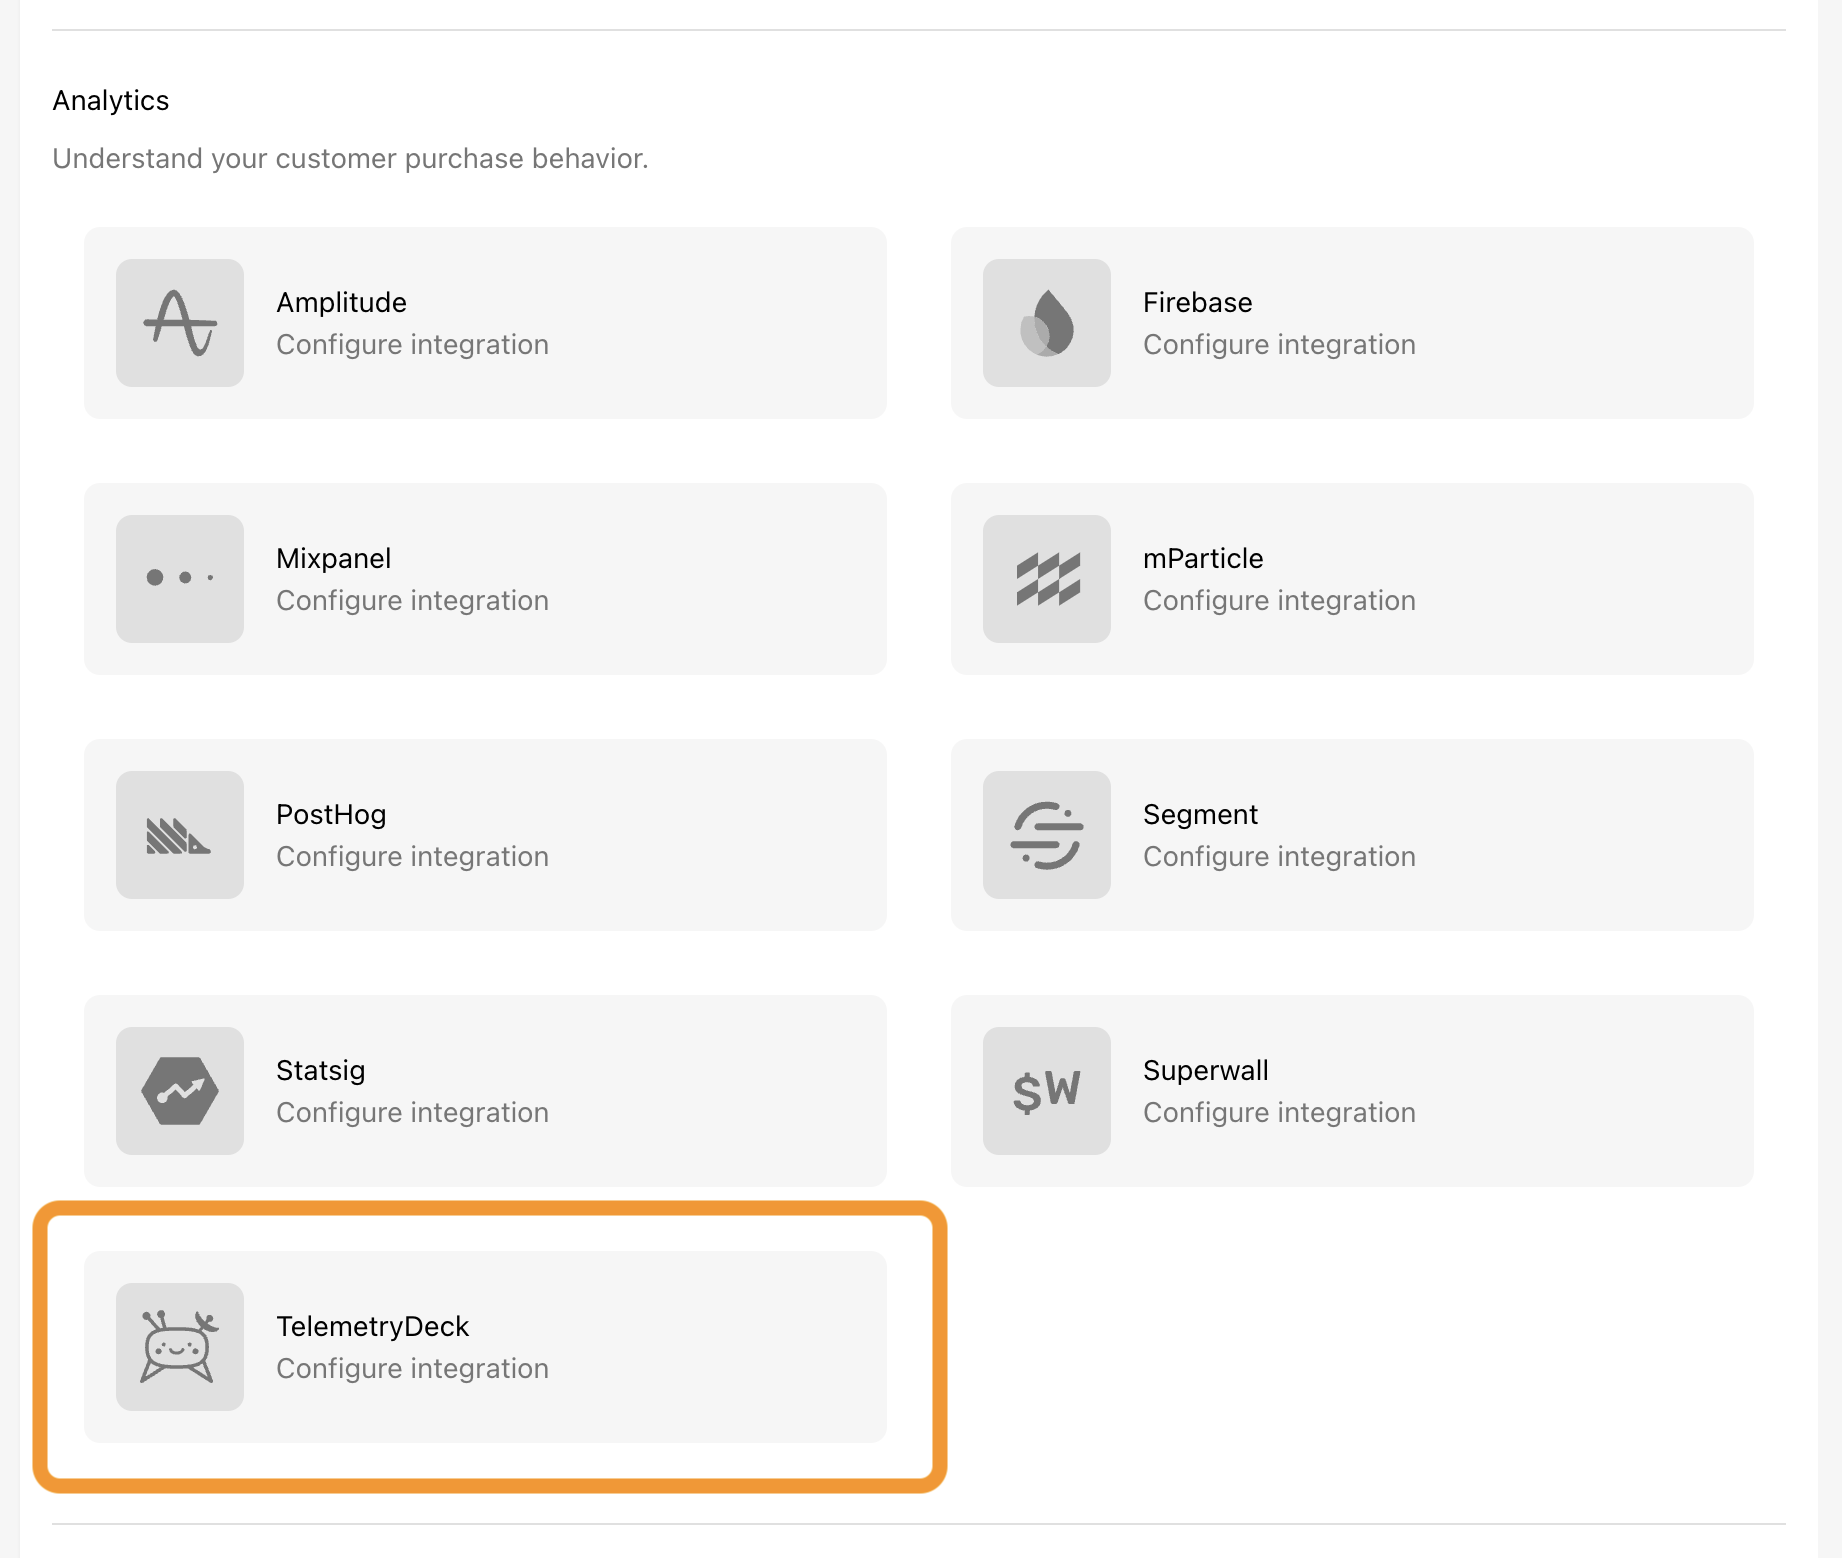
- Navigate to your RevenueCat Project
- In the left sidebar, click Integrations
- Select TelemetryDeck
- Click Add Integration
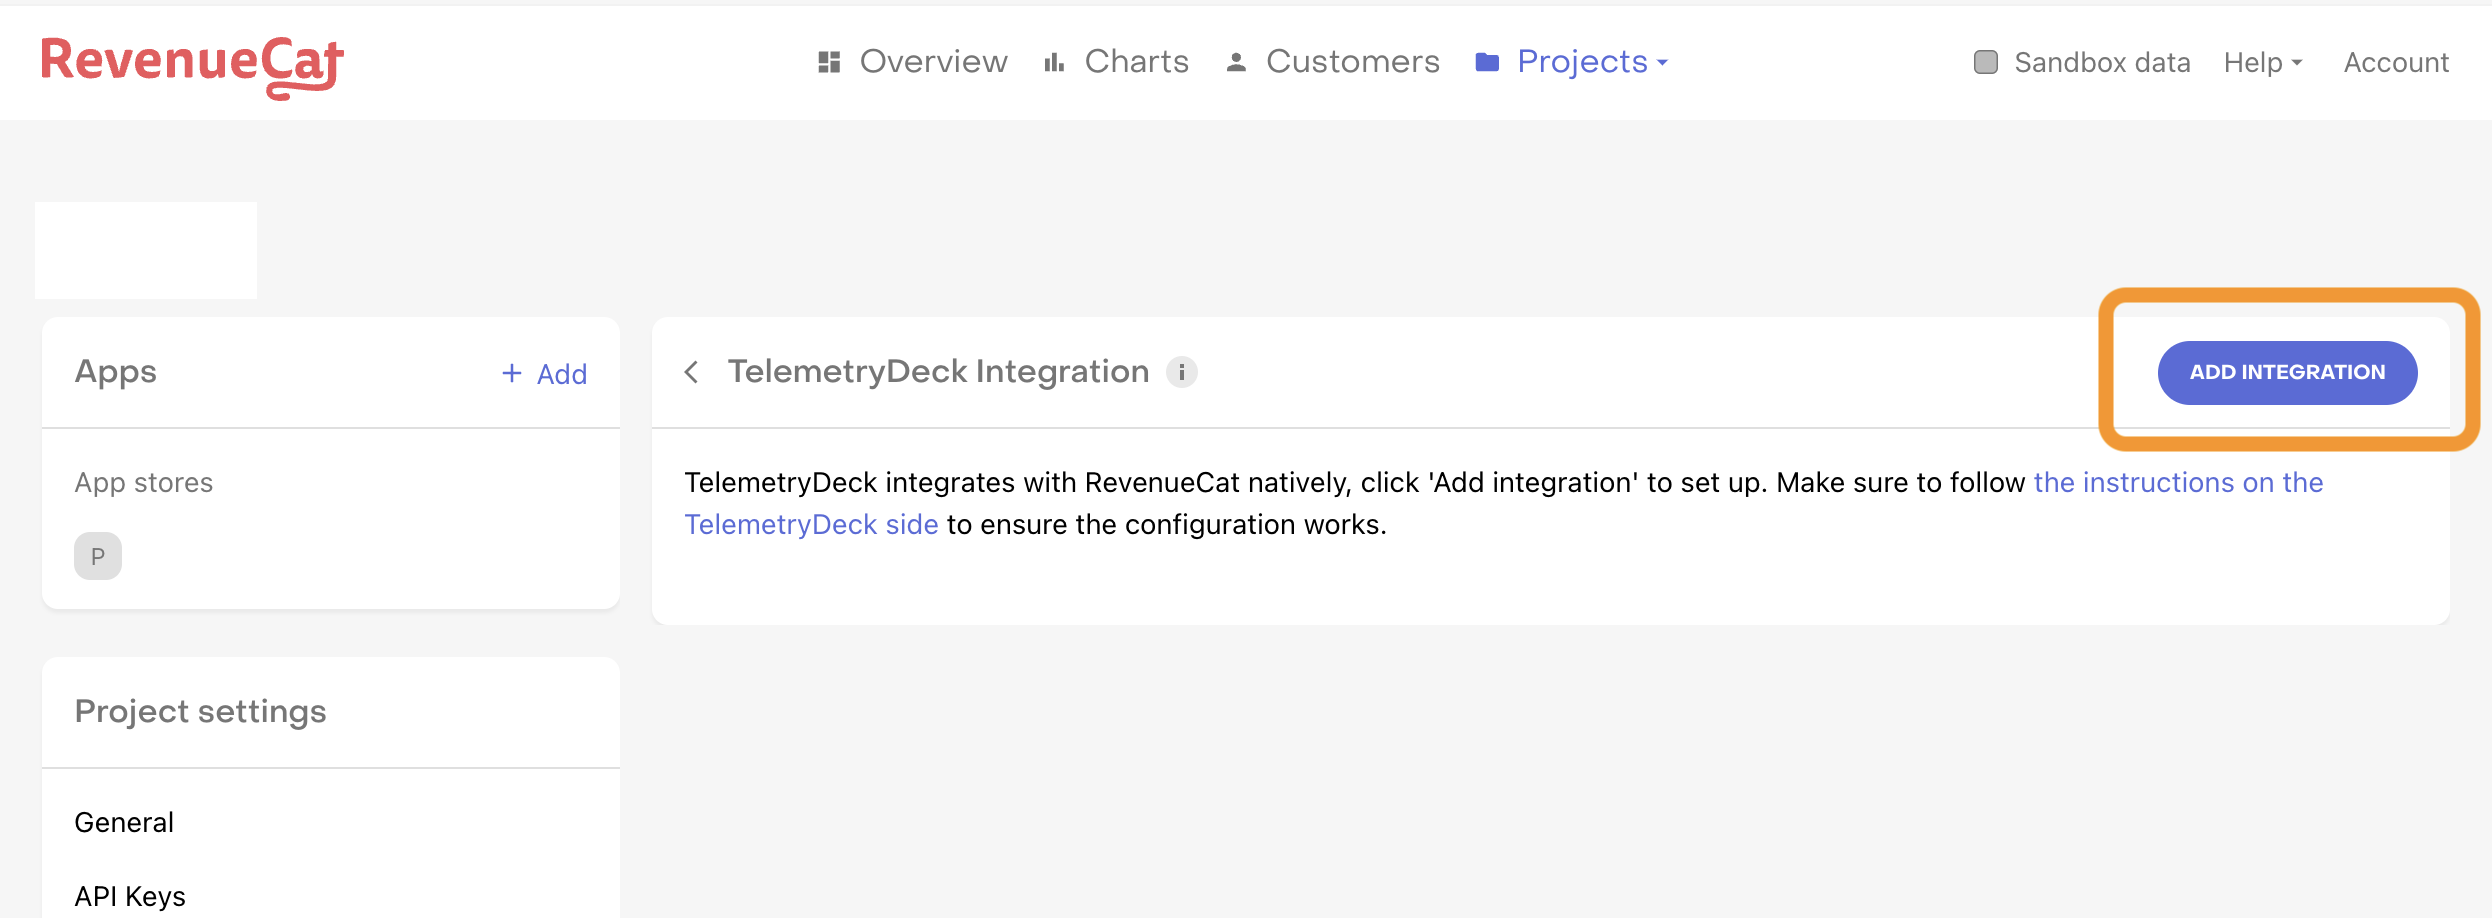
RevenueCat events will now appear in your TelemetryDeck dashboard.